Single sign-on, or SSO, is a way of authenticating access to multiple online applications with a single user identity.
This means that instead of having to remember a set of login credentials for every application, you take one identity from an identity provider whom you trust and use it to log into everything. This is a highly time-efficient method of access control that can greatly simplify identity management and access control in general.
Table of contents
How does single sign-on work?
The basic mechanism is that an application allows entry to a set of credentials from a trusted identity provider. This trust is given on grounds of a certificate that passes between the identity provider and the service. Think of it as a signature that tells the service provider that the identity information is legitimate.
When a user wants to gain access to an application, the service provider shares some information about the user (this information is called a token) to the SSO provider and requests authentication. If the user hasn’t already been authenticated, the identity provider carries out the authentication (username, password, MFA), and then sends a token back to the application. It validates the token against the trusted certificate, and if all checks out, the user is allowed in.
What are the pros and cons of SSO?
SSO saves time but there are drawbacks as well. Here are some upsides and downsides of single sign-on.
Pros:
- Easier access for users - SSO is enormously practical for the users because they only need to remember one set of credentials to access all of their applications.
- Simple identity management - SSO centralizes identity management by storing all identity information in one secure repository.
- Improved security - Because users need to remember fewer passwords, it is easier for them to protect and remember them.
Cons:
- Increased credential sensitivity - Credentials used for SSO require extra protection because if they were compromised, the adversary would get access to a multitude of systems. Multi-factor authentication is a must.
- Possible cost - Because a sudden unavailability of SSO would result in the loss of access to all the connected systems, you may sometimes need failover measures, which can cost money if you are using identity providers’ premium offerings.
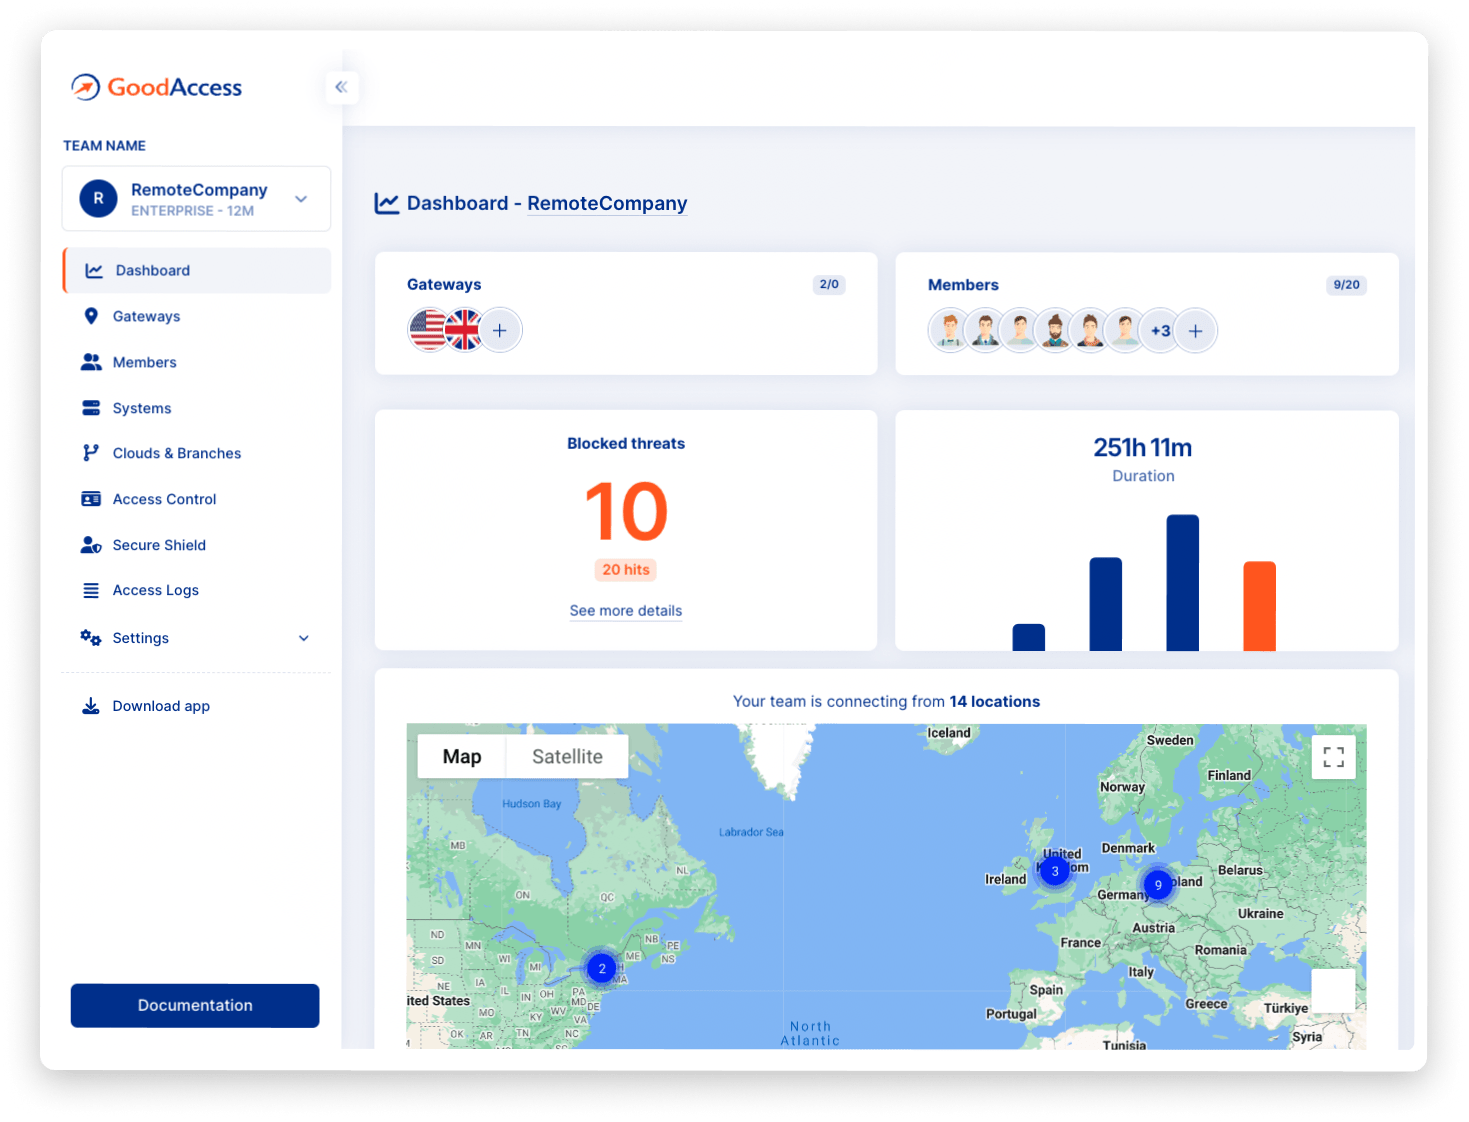
SSO for GoodAccess
GoodAccess supports SSO with access credentials from three identity providers - Microsoft Entra ID, Google Workspace, and Okta.
Note: If you change the login method to SSO, all your existing members will be deleted. However, they will be automatically added back upon first login. All your devices will remain.