
Gone are the days when logging in with a username and a strong password was enough. Only last summer, the Internet saw a leak of nearly 8.5 billion unique passwords exposed to the public.
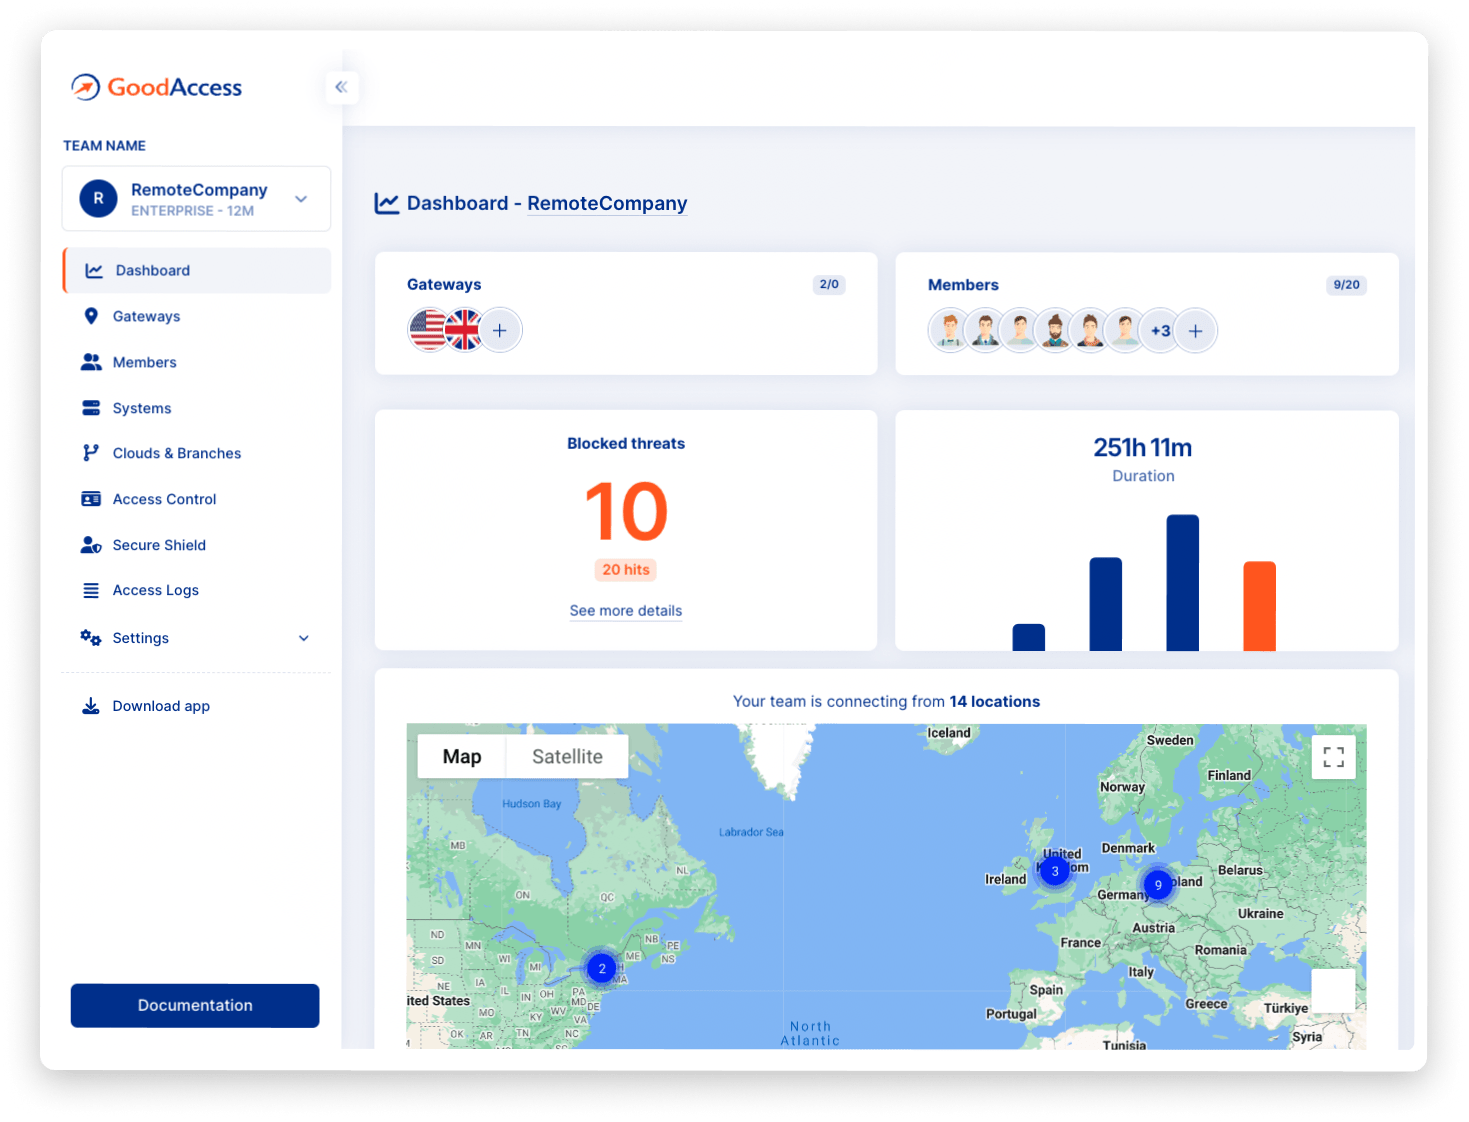
Leaks like this are the reason why additional security measures like multi-factor authentication (MFA) rank high among security best practices. In this blog post, I’ll share some views on MFA and show you how to switch it on for your GoodAccess business cloud VPN account and application.
Table of contents
1. What is multi-factor authentication?
2. What is adaptive authentication?
3. What are the pros and cons of MFA?
What is multi-factor authentication?
Multi-factor authentication, or MFA, is an access control technique that strengthens the security of user authentication. It includes its predecessor of two-factor authentication, or 2FA, which requires an additional proof of identity on top of username and password, such as a pin number, a one-time code sent via a text message, or authentication with a specialized app. MFA extends the concept by introducing more authentication factors.
The idea behind multi-factor authentication is to use more diverse information that is unique to the user’s identity to better verify their legitimacy. Thus, if the username and password get stolen, the adversary cannot misuse them as they would lack the additional factors required to receive access.
Broadly speaking, these factors come in three categories.
- Something you know - a password, pin number, one-time passcode (OTP), security question, etc.
- Something you have - a smartphone, USB stick, token, certificate, etc.
- Something you are - facial or voice recognition, fingerprints, etc.
However, requiring you to provide several factors of authentication every time you log in would be frustrating, so identity providers often turn to adaptive authentication in response to the circumstances under which you log in.
What is adaptive authentication?
Adaptive authentication, sometimes called risk-based authentication, takes into account the perceived risk indicated by your behavior. For instance, if you log in from the same location every day at roughly the same time, you could do with just your username and password.
However, if you suddenly try to access company systems from a location far away and at an unusual time, you will be asked for another factor. Furthermore, if you fail to provide the factor repeatedly, you may be denied access altogether.
This is because your behavior does not correspond to what you usually do, and security is thus adaptively strengthened to minimize the chances of a potential attacker gaining access.
What are the pros and cons of MFA?
As a key component of building zero-trust network access, MFA is widely recommended, but there still are certain concerns to keep in mind.
Pros:
- Better security - One-time passcodes are randomly generated and have a limited expiration period, so there is little danger if they get intercepted. Moreover, it’s highly unlikely that someone would imitate your biometric information.
- Easy to implement - Setting up MFA takes only a few clicks. There is a broad variety of factors to choose from and once set, the MFA remains in place indefinitely.
Cons:
- Need for additional devices - If you get your one-time passcode sent via phone, you naturally need your phone at hand and must have reception. Alternatively, you need Internet access if you are using an external authenticator app.
- Phishing danger - Text messages can contain phishing lures that trick users to follow a link in the text and give up their access credentials and one-time passcode.